Downloadable – 3CX Quick Reference Guide
3CX StartUP Administration Guide
Signing in and going to Office Settings
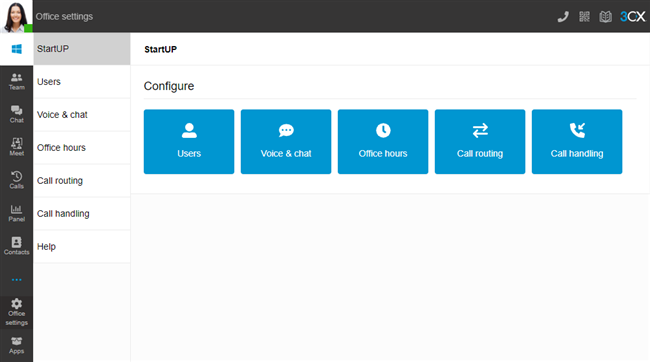
You can configure your phone system from the admin console labelled “ADMIN” on the below page. You can get to it from within the Webclient. You will need Admin permissions to have this option for your user.
If you have not done so already, sign in to your webclient. Note: Your email address is your username and the password can be reset using the reset password option in the login screen. Please see this link if you get stuck Changes in 3CX version 18
- Click on the URL. The login URL should look like this approximately
- https://PBX.3cx.com.au/webclient/
Where PBX is the 3CX system name provided by Tronic for example https://tronic.3cx.com.au/webclient/
- Login with your account details.
- Now click on the “ADMIN” button on the bottom left hand side of the webclient.
- then Click the "group" you want to set holidays for. If you have multiple companies or departments we will normally do a seperate group for each company or department.
- Then click on "Office Hours" for this group

- From this screen you can set your defualt office hours and routing for day/night and break times. You can also set dates for holidays which will route the calls to "When office is closed route to". You can also do a once off promt greeting to play without option to leave a voicemail.
1. Click +Add under "set your holidays" and add the dates that you are on holidays. Enter any full days you are on holidays with tme of 12:00am to 1159PM as this will set the full day as closed.
Alternativly if you close early do a seperate date and time for this event. Every year tab make this a holiday event every year automaticly.
You can also to a range of days by clicking the tab labelled as "Single Day" in the below picture.
2. Then Click "Save"
3. Now this "group" will chnage to out of hours reoute for the days and times entered.
1. Alternativly you can also set a greeting that plays for the caller over and over and doesn't give them the option to leave a voicemail.
2. Click the "Play Announcement" button.
3. You can then either click the drop down tab highlighted in red below and selcet an existing greeting to play.
You can also upload a WAV (neds to be 16bit and 8000hz) file to the system. This can be converted using https://cloudconvert.com/mp3-to-wav
4. To record a new greeting click RECORD button and then give the recording a name. ie Christmas2023.
5. Then press the record button on the right of this screen popup with the circles icon.
6. Then using your headset record the greeting. The recording will start as soon as you press the record button.
7. ONce recroded press the Stop button.
You can then listen the prompt/greeting with the play button and download it from this popup screen. If your happy then select this greeting rom the drop own screen highlited in red in the below screen shot.